声明:本文乃“运维家”原创,转载请注明出处,更多内容请关注公众号“运维家”。

主旨
上文已经介绍了compose的安装以及相关命令,那么本文我们就开始详细的说下具体该如何使用呢,compose的配置文件又该如何去写呢?往下看。
环境
 linux环境
docker环境
docker-compose环境
举栗子
PS:推荐执行docker-compose的时候,要切换到docker-compose.yml配置文件同目录下执行。
1、使用docker-compose管理多个容器
 [yunweijia@localhost ~]$ mkdir -pv docker/compose/test01
mkdir: 已创建目录 "docker/compose"
mkdir: 已创建目录 "docker/compose/test01"
[yunweijia@localhost ~]$ cd docker/compose/test01/
[yunweijia@localhost test01]$ touch docker-compose.yml
[yunweijia@localhost test01]$ vim docker-compose.yml
version: '2'
services:
  nginx:
    image: nginx:latest
  redis:
    image: redis:latest
[yunweijia@localhost test01]$
上面的例子的意思是同时管理redis和nginx镜像,我们启动它,如下:
 [yunweijia@localhost test01]$ sudo docker-compose up -d
Creating network "test01_default" with the default driver
Creating test01_redis_1 ... done
Creating test01_nginx_1 ... done
[yunweijia@localhost test01]$
[yunweijia@localhost test01]$ sudo docker-compose ps
     Name                   Command               State    Ports
------------------------------------------------------------------
test01_nginx_1   /docker-entrypoint.sh ngin ...   Up      80/tcp
test01_redis_1   docker-entrypoint.sh redis ...   Up      6379/tcp
[yunweijia@localhost test01]$
关闭他,如下:
 [yunweijia@localhost test01]$ sudo docker-compose stop
Stopping test01_redis_1 ... done
Stopping test01_nginx_1 ... done
[yunweijia@localhost test01]$ sudo docker-compose ps
     Name                   Command               State    Ports
----------------------------------------------------------------
test01_nginx_1   docker-entrypoint.sh redis ...   Exit 0
test01_redis_1   /docker-entrypoint.sh ngin ...   Exit 0
[yunweijia@localhost test01]$
停止之后,再次查看的时候,发现state已经变成了exit,然后我们删除它,防止影响到我们接下来做的实验;
 [yunweijia@localhost test01]$ sudo docker-compose rm
Going to remove test01_redis_1, test01_nginx_1
Are you sure? [yN] y
Removing test01_redis_1 ... done
Removing test01_nginx_1 ... done
[yunweijia@localhost test01]$ sudo docker-compose ps
Name   Command   State   Ports
------------------------------
[yunweijia@localhost test01]$
2、使用docker-compose做端口映射
 语法:
  ports:
  - “宿主机端口:容器端口”    # 同样的,宿主机端口可以不等于容器端口
实例:
[yunweijia@localhost test01]$ mkdir -pv /home/yunweijia/docker/compose/test02
mkdir: 已创建目录 "/home/yunweijia/docker/compose/test02"
[yunweijia@localhost test01]$ cd /home/yunweijia/docker/compose/test02/
[yunweijia@localhost test02]$ touch docker-compose.yml
[yunweijia@localhost test02]$ vim docker-compose.yml
version: '2'
services:
  nginx:
    image: nginx:latest
    ports:
    - "80:80"
  redis:
    image: redis:latest
    ports:
    - "6379:6379"
[yunweijia@localhost test02]$
上面的意思是在第一个例子的前提上,将端口号映射到宿主机上,方便我们使用,下面我们启用并验证他;
 [yunweijia@localhost test02]$ sudo docker-compose up -d
Starting test02_redis_1 ... done
Starting test02_nginx_1 ... done
[yunweijia@localhost test02]$ sudo docker-compose ps
     Name                   Command               State                    Ports
--------------------------------------------------------------------------------------------------
test02_nginx_1   /docker-entrypoint.sh ngin ...   Up      0.0.0.0:80->80/tcp,:::80->80/tcp
test02_redis_1   docker-entrypoint.sh redis ...   Up      0.0.0.0:6379->6379/tcp,:::6379->6379/tcp
[yunweijia@localhost test02]$
[yunweijia@localhost test02]$ sudo firewall-cmd --add-port=80/tcp --permanent
success
[yunweijia@localhost test02]$ sudo firewall-cmd --add-port=6379/tcp --permanent
success
[yunweijia@localhost test02]$ sudo firewall-cmd --reload
success
[yunweijia@localhost test02]$
浏览器访问验证nginx:
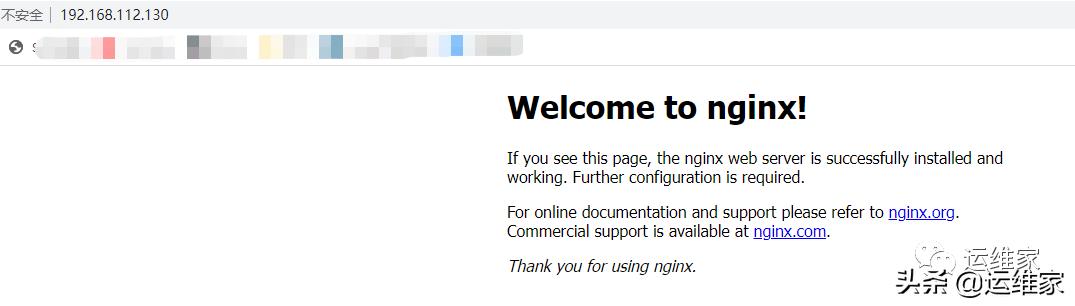
redis同理,就不进行验证了;然后我们停止并删除这两个容器,以防对我们接下来的内容有影响;
 [yunweijia@localhost test02]$ sudo docker-compose stop
Stopping test02_nginx_1 ... done
Stopping test02_redis_1 ... done
[yunweijia@localhost test02]$ sudo docker-compose rm
Going to remove test02_nginx_1, test02_redis_1
Are you sure? [yN] y
Removing test02_nginx_1 ... done
Removing test02_redis_1 ... done
[yunweijia@localhost test02]$ sudo docker-compose ps
Name   Command   State   Ports
------------------------------
[yunweijia@localhost test02]$
3、使用docker-compose设置网络模式
 语法:
  network_mode: "模式"
实例:
[yunweijia@localhost test02]$ mkdir -pv /home/yunweijia/docker/compose/test03
mkdir: 已创建目录 "/home/yunweijia/docker/compose/test03"
[yunweijia@localhost test02]$ cd /home/yunweijia/docker/compose/test03/
[yunweijia@localhost test03]$ touch docker-compose.yml
[yunweijia@localhost test03]$ vim docker-compose.yml
version: '2'
services:
  nginx:
    image: nginx:latest
    network_mode: "host"
  redis:
    image: redis:latest
    network_mode: "none"
[yunweijia@localhost test03]$
以上redis使用的是null网络模式,nginx使用的是host网络模式,这两种模式如果忘记具体是什么意思的话,可以翻看往期内容,下面我们来启动验证他:
 [yunweijia@localhost test03]$ sudo docker-compose up -d
Creating test03_nginx_1 ... done
Creating test03_redis_1 ... done
[yunweijia@localhost test03]$ sudo docker-compose ps
     Name                   Command               State   Ports
---------------------------------------------------------------
test03_nginx_1   /docker-entrypoint.sh ngin ...   Up
test03_redis_1   docker-entrypoint.sh redis ...   Up
[yunweijia@localhost test03]$
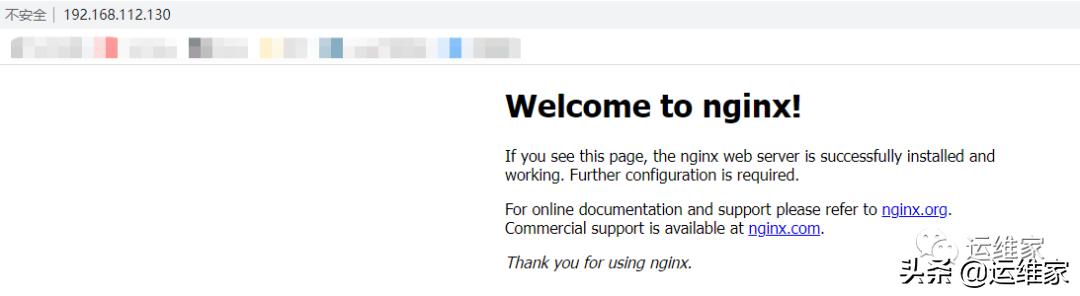
由于redis是null模式,所以无法访问到,那么我们直接访问nginx进行验证试一下(PS:80端口的防火墙,在第二个例子中就已经放开了,此处略过此步骤):
我们停止并删除这两个容器,以防对下面实验有影响:
 [yunweijia@localhost test03]$ sudo docker-compose stop
Stopping test03_redis_1 ... done
Stopping test03_nginx_1 ... done
[yunweijia@localhost test03]$ sudo docker-compose rm
Going to remove test03_redis_1, test03_nginx_1
Are you sure? [yN] y
Removing test03_redis_1 ... done
Removing test03_nginx_1 ... done
[yunweijia@localhost test03]$
4、使用docker-compose设置文件共享
 [yunweijia@localhost test03]$ mkdir -pv /home/yunweijia/docker/compose/test04
mkdir: 已创建目录 "/home/yunweijia/docker/compose/test04"
[yunweijia@localhost test03]$ cd !$
cd /home/yunweijia/docker/compose/test04
[yunweijia@localhost test04]$ mkdir logs
[yunweijia@localhost test04]$ touch docker-compose.yml
[yunweijia@localhost test04]$ vim docker-compose.yml
version: '2'
services:
  nginx:
    image: nginx:latest
    volumes:
    - /home/yunweijia/docker/compose/test04/logs:/var/log/nginx
    network_mode: "host"
  redis:
    image: redis:latest
[yunweijia@localhost test04]$
以上例子是将nginx的日志,放置到了宿主机,我们启动验证他:
 [yunweijia@localhost test04]$ sudo docker-compose up -d
Creating test04_redis_1 ... done
Creating test04_nginx_1 ... done
[yunweijia@localhost test04]$ sudo docker-compose ps
     Name                   Command               State    Ports
------------------------------------------------------------------
test04_nginx_1   /docker-entrypoint.sh ngin ...   Up
test04_redis_1   docker-entrypoint.sh redis ...   Up      6379/tcp
[yunweijia@localhost test04]$
浏览器访问几次:
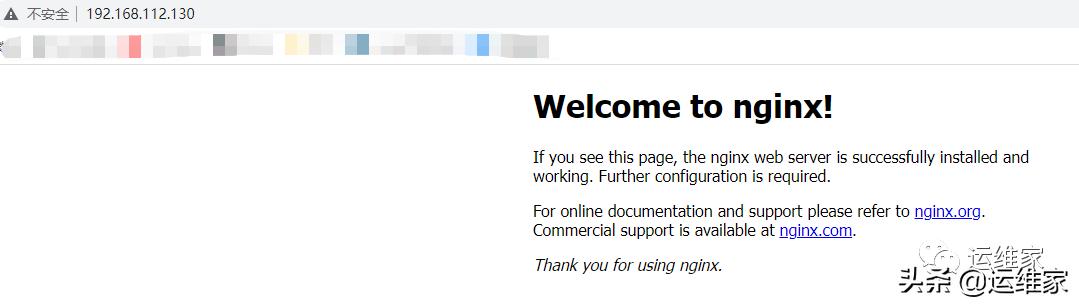
看下日志文件是否共享出来了:
 [yunweijia@localhost test04]$ cd logs/
[yunweijia@localhost logs]$ ls
access.log  error.log
[yunweijia@localhost logs]$ cat access.log
192.168.112.1 - - [18/Feb/2022:07:51:16 +0000] "GET / HTTP/1.1" 304 0 "-" "Mozilla/5.0 (Windows NT 10.0; Win64; x64) AppleWebKit/537.36 (KHTML, like Gecko) Chrome/98.0.4758.102 Safari/537.36" "-"
192.168.112.1 - - [18/Feb/2022:07:51:16 +0000] "GET / HTTP/1.1" 304 0 "-" "Mozilla/5.0 (Windows NT 10.0; Win64; x64) AppleWebKit/537.36 (KHTML, like Gecko) Chrome/98.0.4758.102 Safari/537.36" "-"
192.168.112.1 - - [18/Feb/2022:07:51:16 +0000] "GET / HTTP/1.1" 304 0 "-" "Mozilla/5.0 (Windows NT 10.0; Win64; x64) AppleWebKit/537.36 (KHTML, like Gecko) Chrome/98.0.4758.102 Safari/537.36" "-"
192.168.112.1 - - [18/Feb/2022:07:51:16 +0000] "GET / HTTP/1.1" 304 0 "-" "Mozilla/5.0 (Windows NT 10.0; Win64; x64) AppleWebKit/537.36 (KHTML, like Gecko) Chrome/98.0.4758.102 Safari/537.36" "-"
192.168.112.1 - - [18/Feb/2022:07:51:16 +0000] "GET / HTTP/1.1" 304 0 "-" "Mozilla/5.0 (Windows NT 10.0; Win64; x64) AppleWebKit/537.36 (KHTML, like Gecko) Chrome/98.0.4758.102 Safari/537.36" "-"
192.168.112.1 - - [18/Feb/2022:07:51:17 +0000] "GET / HTTP/1.1" 304 0 "-" "Mozilla/5.0 (Windows NT 10.0; Win64; x64) AppleWebKit/537.36 (KHTML, like Gecko) Chrome/98.0.4758.102 Safari/537.36" "-"
[yunweijia@localhost logs]$
我们停止并删除这两个容器,以防对下面实验有影响:
 [yunweijia@localhost test04]$ sudo docker-compose stop
Stopping test04_redis_1 ... done
Stopping test04_nginx_1 ... done
[yunweijia@localhost test04]$ sudo docker-compose rm
yGoing to remove test04_redis_1, test04_nginx_1
Are you sure? [yN]
Removing test04_redis_1 ... done
Removing test04_nginx_1 ... done
[yunweijia@localhost test04]$
5、如果相同的镜像和环境,想启动多个容器
 [yunweijia@localhost test04]$ mkdir -pv /home/yunweijia/docker/compose/test05
mkdir: 已创建目录 "/home/yunweijia/docker/compose/test05"
[yunweijia@localhost test04]$ cd !$
cd /home/yunweijia/docker/compose/test05
[yunweijia@localhost test05]$ touch docker-compose.yml
[yunweijia@localhost test05]$ vim docker-compose.yml
version: '2'
services:
  nginx:
    image: nginx:latest
  redis:
    image: redis:latest
[yunweijia@localhost test05]$ sudo docker-compose up -d --scale nginx=3
Creating network "test05_default" with the default driver
Creating test05_nginx_1 ... done
Creating test05_nginx_2 ... done
Creating test05_nginx_3 ... done
Creating test05_redis_1 ... done
[yunweijia@localhost test05]$
以上示例中,我们将启动了3个nginx镜像,但是redis不受影响,还是一个,如果我们想进入启动了多个的nginx容器中,需要指定容器ID,如下:
 [yunweijia@localhost test05]$ sudo docker-compose exec --index=2 nginx bash
root@f50418f6d919:/# exit
exit
[yunweijia@localhost test05]$ sudo docker-compose exec --index=1 nginx bash
root@23e004cc5330:/# exit
exit
[yunweijia@localhost test05]$
停止并删除这4个容器,如下:
 [yunweijia@localhost test05]$ sudo docker-compose stop
Stopping test05_nginx_3 ... done
Stopping test05_nginx_2 ... done
Stopping test05_redis_1 ... done
Stopping test05_nginx_1 ... done
[yunweijia@localhost test05]$ sudo docker-compose rm
Going to remove test05_nginx_3, test05_nginx_2, test05_redis_1, test05_nginx_1
Are you sure? [yN] y
Removing test05_nginx_3 ... done
Removing test05_nginx_2 ... done
Removing test05_redis_1 ... done
Removing test05_nginx_1 ... done
[yunweijia@localhost test05]$
至此,docker-compose的介绍结束,当然了,远远不止这些参数,也不止如此的简单,这里只是把经常用的列出来了,要深入研究还是要查看官网,这里负责让你入门。
下来我们将写下harbor仓库如何搭建以及如何使用,各位老板有什么问题欢迎后台留言。


